
Christmas nail art is a festive and creative way to celebrate the holiday season. As an expert in fashion and personal care, I can share some sophisticated and trendy ideas that will add a touch of elegance and cheer to your nails during the holidays.
10 Best Christmas Nails Design Ideas
We have listed below the best Christmas nails art designs,
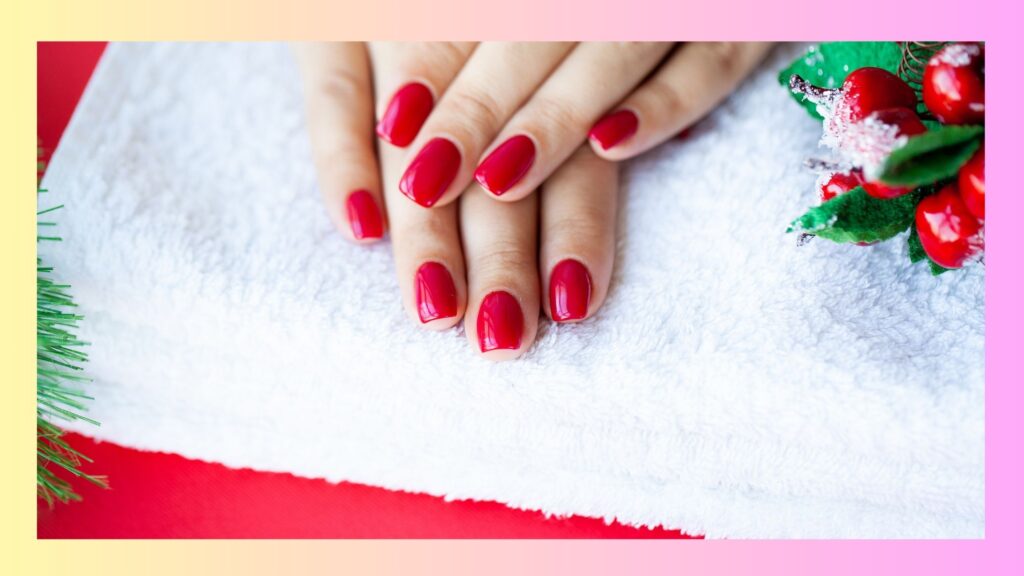
1. Classic Red and Green with a Twist:
Opt for a more intricate design instead of the typical solid red or green nails. A deep red base with delicate green holly leaves or tiny gold stars can create a subtle yet festive look. Try a green ombre effect or red nails with green French tips for a more modern take.

2. Snowflake Elegance
Snowflake designs are a winter classic. Opt for a sheer white or pale blue base and paint on intricate snowflakes in silver or white. Add a touch of glitter for a snowy shimmer. For a more minimalist approach, just one or two snowflakes on an accent nail can be chic.

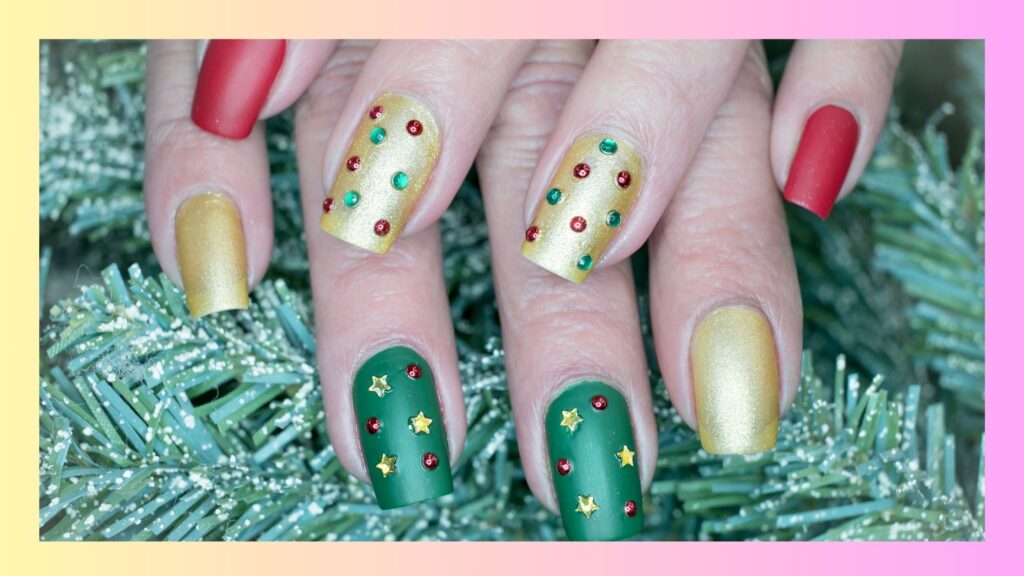
3. Glitter and Metallics:
Christmas is the perfect time for sparkle. Gold, silver, and metallic shades can be used for a full-on glitter nail or as accents. Try a gold glitter ombre, or paint your nails a rich, metallic colour with a matte topcoat for a sophisticated look.
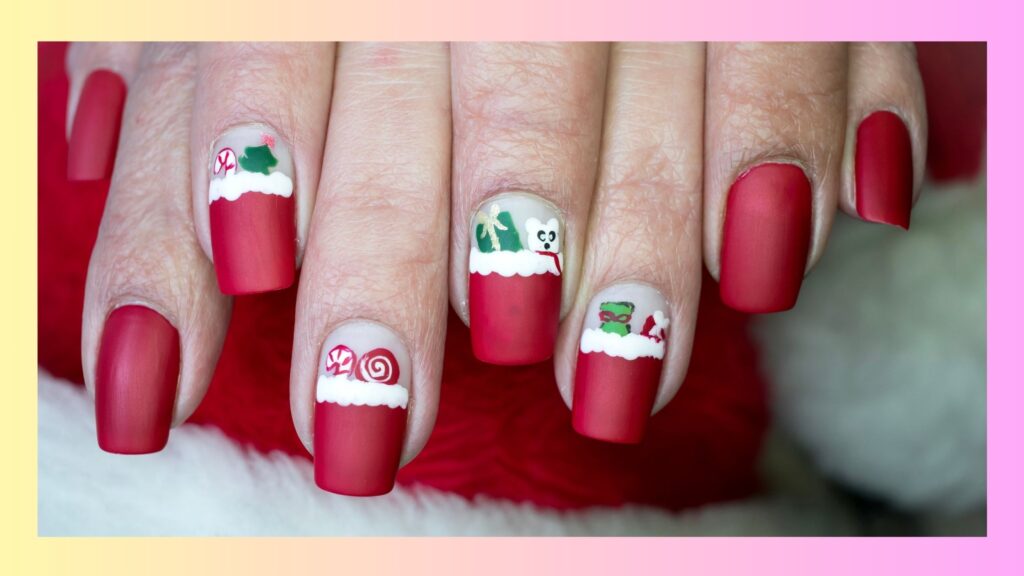
4. Santa and Reindeer Themes:
For those who love a more playful style, Santa hats, reindeer, or even tiny Christmas tree designs can be fun. These are usually done on a red or green base with white and black for details. They require a steady hand but are a conversation starter.
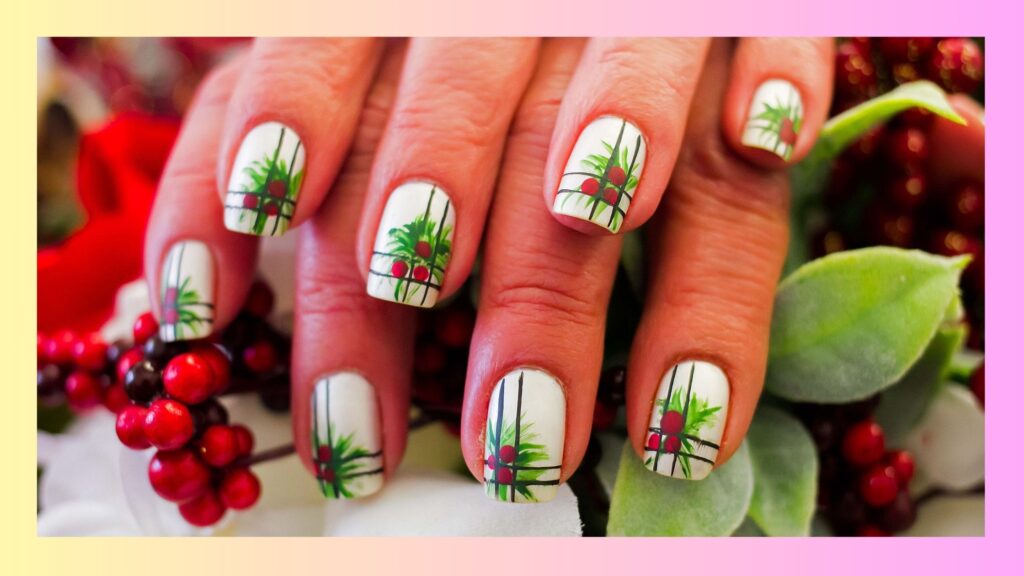
5. Elegant Winter Florals:
Winter florals, like poinsettias or holly berries, can be a beautiful and unique take on Christmas nails. These can be painted on a nude base for a more understated look or on a bright floor for more impact.
6. Plaid Patterns:
Plaid or tartan patterns in red, green, and gold can create a cosy, traditional Christmas feel. This design requires precision but can be striking and stylish.
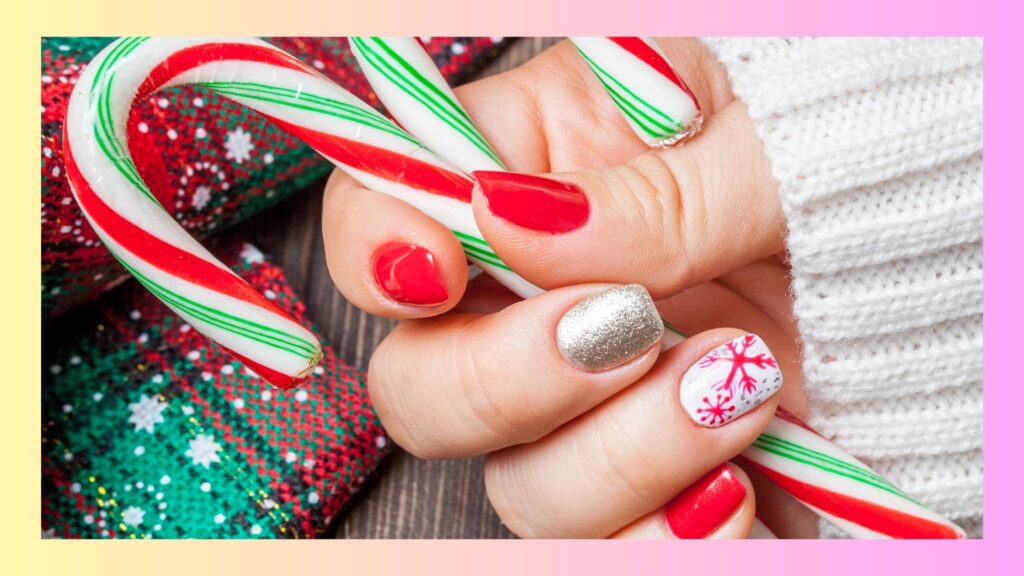
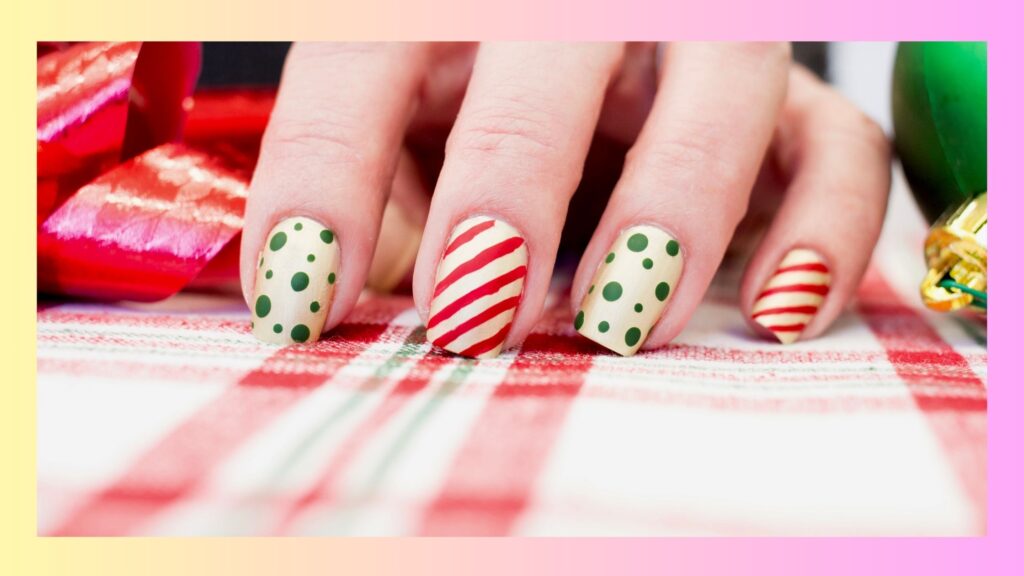
7. Candy Cane Stripes:
Red and white stripes, reminiscent of candy canes, are a fun and festive option. Try diagonal or zigzag stripes for a twist, or mix in some silver or gold for extra sparkle.
8. Frosty the Snowman and Winter Scenes:
If you’re skilled with a nail brush, try painting tiny winter scenes or characters like Frosty the Snowman. These designs are playful and can be very detailed and artistic.

9. Poinsettia Petals:
Create beautiful poinsettia flowers on your nails, using red and green with touches of gold. This design is a nod to the traditional Christmas flower and looks very elegant.
10. Santa and Elves:
Depict cute Santa hats, elf shoes, or Santa’s belt on your nails. These playful designs are perfect for adding a bit of whimsy to your holiday look.
How to Make Your Christmas Nails Last Longer?
Maintaining the longevity of your Christmas nail art is essential, especially during the busy holiday season. Here are some expert tips to ensure your festive manicure stays vibrant and chip-free for as long as possible:
- Prep Your Nails Properly: Start with clean, dry nails. Eradicate any old polish, and use a nail cleanser or rubbing alcohol to remove oils from the nail surface. This step ensures that your base coat adheres properly.
- Use a High-Quality Base Coat: A good base coat protects your nails from staining and helps the polish adhere better. Apply a thin, even layer and let it dry completely before proceeding.
- Apply Polish in Thin Layers: Thick layers of polish can peel off easily. Apply your nail polish in thin, even layers, allowing each layer to dry completely before applying the next. This method may take longer but ensures a smoother, more durable finish.
- Seal with a Top Coat: A top coat protects your nail art. Choose a high-quality top coat and apply it carefully over your design. It will add shine and protect your nails from chipping. Reapply the top coat every 2-3 days to refresh the shine and extend the life of your manicure.
- Avoid Water and Heat: Prolonged exposure to water and heat can weaken your nail polish. Wear gloves while doing dishes or cleaning, and avoid hot water in showers and baths as much as possible.
- Moisturize Your Cuticles: Keep your cuticles and the skin around your nails moisturized. This promotes healthy nail growth and prevents the polish from peeling. Use a cuticle oil or a good hand cream regularly.
- Be Mindful of Your Nails: Avoid using your nails as tools to open things or scratch surfaces. This kind of pressure can cause the polish to chip.
- Touch-ups: If you notice a small chip, you can touch it up with the same colour polish and finish with a layer of top coat. This can extend the life of your manicure by several days.
- Use Non-Acetone Nail Polish Remover for Corrections: If you need to clean up any polish on your cuticles or skin, use a non-acetone remover. Acetone can be harsh on your nails and strip away the oils that keep them strong.
- Stay Hydrated and Maintain a Healthy Diet: This might seem unrelated, but your overall health dramatically affects the health of your nails. Staying hydrated and maintaining a diet rich in vitamins and minerals will keep your nails strong.
By following these steps, you can enjoy your festive Christmas nails longer, keeping them fresh and vibrant throughout the holiday season. Remember, the key is in the preparation and maintenance of your nails.
When creating Christmas nail art, start with a good base coat to protect your nails and finish with a high-quality topcoat to ensure your design lasts throughout the holiday festivities. Additionally, thin brushes and nail art tools can help achieve precise and detailed plans. Remember, the key to great Christmas nail art is creativity and fun, so don’t be afraid to experiment and make your designs your own!